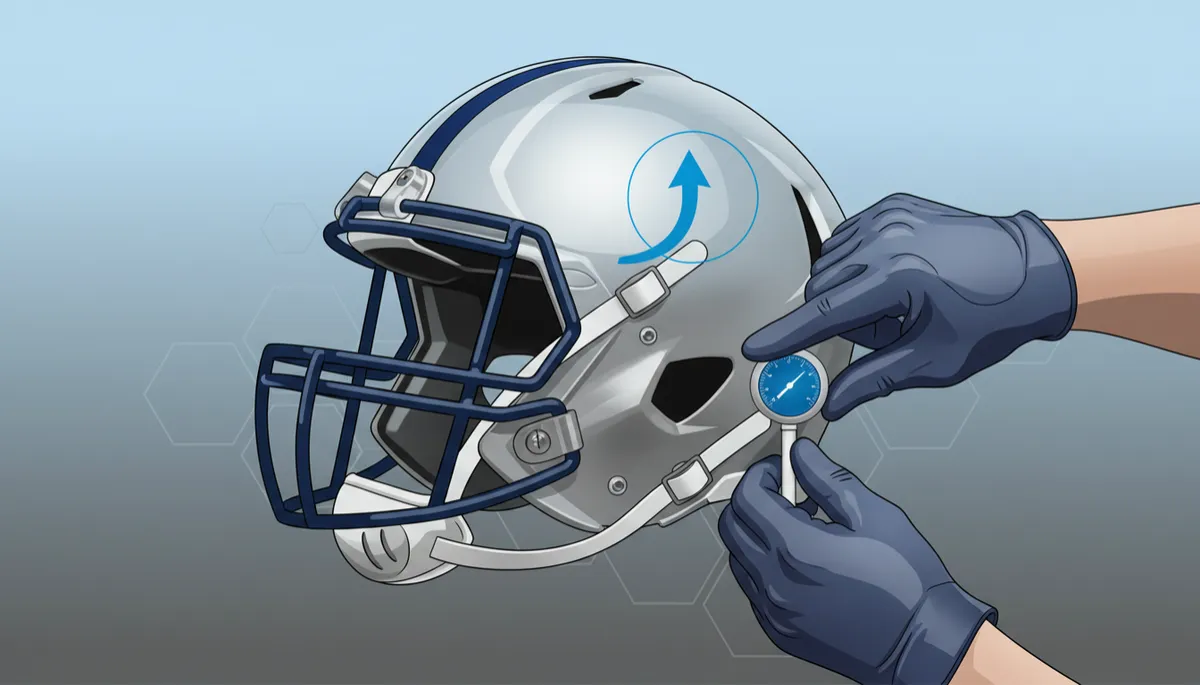
Ensure Safe Football Helmet Fit & Air Pressure
Football Safety, Youth Sports, Helmet Fit
How to Check Your Football Player's Helmet Fit and Air Pressure Before Every Practice and Game
A properly fitted, correctly inflated football helmet is one of the simplest and most powerful ways to protect your player. Use this step‑by‑step guide before every practice and game to help keep them safer on the field.
Why Helmet Fit and Air Pressure Matter Every Single Time
Helmets are designed to manage impact, not prevent all injuries, but they only work as intended when they fit correctly and the air bladders are properly inflated. Over the course of a week, sweat, temperature changes, and normal wear can loosen straps, shift padding, and slowly release air. A quick check before every practice and game helps your player get the full benefit of their equipment.
1. How to Check Your Football Player's Helmet Fit
Start with your player fully dressed for practice or the game, including any hair style or headband they normally wear. Helmet fit should be snug but comfortable, with no slipping or painful pressure points.
Step 1: Position the Helmet Correctly
Have your player place the helmet level on their head, not tilted back or forward.
The front rim should sit about one to two finger widths above the eyebrows so the forehead is covered.
Step 2: Check Overall Snugness
Place your hands on either side of the helmet and gently try to move it up and down, side to side, and forward and backward.
The helmet should move the player’s skin with it. If it slides easily without moving the skin, it is too loose.
Step 3: Confirm Front, Side, and Back Contact
Ask your player where they feel the padding. They should feel even contact across the forehead, sides, and back of the head. There should be no large gaps and no single spot that feels painfully tight. If you see obvious spaces between the head and padding, or if they complain of sharp pressure, talk with a coach or equipment manager about adjustments or a different size.
Step 4: Test the Chinstrap and Jaw Pads
Buckle all chinstrap snaps so the strap forms a straight, centered line under the chin.
Tighten until only one or two fingers can fit between the strap and the chin—snug, but not choking.
Check that the jaw pads sit firmly against the jawline when the mouth is closed. The helmet should not rock when the player talks or shakes their head “no.”
💡 Pro Tip: Have your player do a quick “shake test.” With the chinstrap buckled, ask them to shake their head side to side and nod up and down. The helmet should stay aligned with their eyes and nose without bouncing.
2. How to Check Helmet Air Pressure Before Every Practice and Game
Many modern football helmets use air bladders inside the padding to fine‑tune fit. Over time, air can slowly leak or expand and contract with temperature changes. Making air checks part of your pre‑field routine keeps the fit consistent all season long.
Step 1: Gather the Right Tools
Helmet manufacturer’s inflation pump and needle (often provided when the helmet is purchased).
A small bottle of lubricant (like the one that comes with the pump) to protect the valves.
Step 2: Locate the Air Valves and Recommended Pressure
Look for small, round air valves on the crown, sides, or back of the helmet. Check the owner’s manual or manufacturer’s website for recommended pressure ranges and any special instructions. If you are unsure, ask the team’s equipment manager or coach to show you the correct valves and settings for your model.
Step 3: Inflate Slowly and Check Fit as You Go
Lightly lubricate the needle, insert it straight into the valve, and pump small amounts of air at a time. After a few pumps, pause and repeat your fit checks:
Does the helmet feel evenly snug around the head, without hot spots?
Can your player open and close their mouth comfortably?
Does the helmet still sit level, with the front just above the eyebrows?
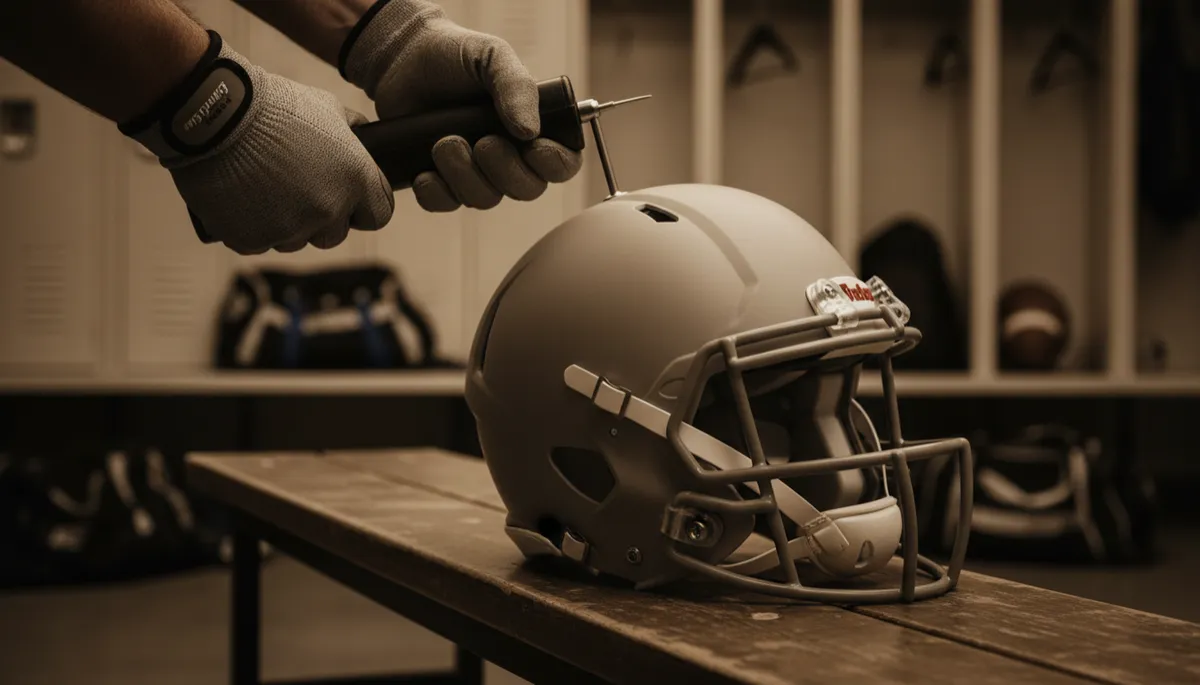
A 30-second air pressure check can restore a snug, secure helmet fit.
Step 4: Watch for Warning Signs of Incorrect Pressure
Too little air: The helmet rocks or shifts easily, or your player can grab the facemask and move the helmet without moving their head.
Too much air: Your player complains of headaches or painful pressure, especially on the crown or temples.
⚠️ Warning: Never use a random ball pump or compressor without the manufacturer’s guidance. Over‑inflation can damage the air bladders and compromise protection.
Make Helmet Checks Part of Your Pre‑Field Routine
Building a simple habit—fit check, chinstrap check, air pressure check—before every practice and game takes only a minute or two, but it can make a meaningful difference in how well your player’s helmet performs. Partner with coaches and equipment staff, follow the manufacturer’s instructions, and encourage your athlete to speak up anytime their helmet feels different. Consistency is key to keeping them as protected as possible every time they step onto the field.
🎯 Ready to Get Noticed? Join our free Facebook group for football parents — recruiting education, real wins from real families, and direct guidance from a former zero-star recruit turned ACC & SEC starter. Click here to join the group and start getting your athlete in front of the right eyes.